
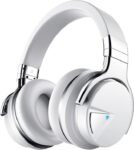
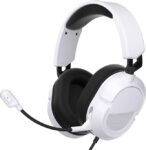
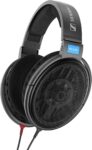

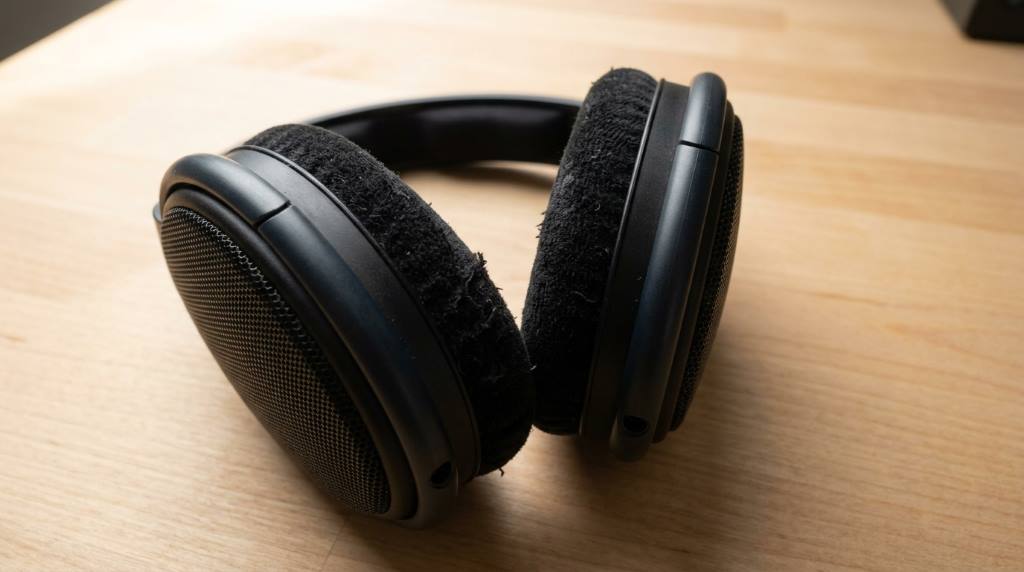
Replacing the ear pads on your sennheiser headphones can restore comfort and sound quality. Over time ear pads wear out and lose their cushioning which affects both fit and audio performance. Studies show that 70 percent of headphone users notice a drop in comfort after two years of use. Fresh ear pads also improve noise isolation and keep your headphones looking new.
This guide will walk you through the process step by step. You will learn how to pick the right replacements and install them without damage. Whether you own a Sennheiser HD 599 or a Momentum model this method works for most designs. With a little care your headphones will feel brand new again.
Why Replace Your Sennheiser Headphone Ear Pads
Ear pads wear out faster than any other part of your headphones. Daily use causes the foam to flatten and the fabric to fray. This reduces comfort during long listening sessions. It also lets outside noise leak in and sound leak out.
Old ear pads can collect sweat dirt and oils from your skin. This builds up over time and creates an unhygienic surface. Replacing them keeps your headphones clean and fresh. It also prevents skin irritation and allergies.
New ear pads can also improve the sound of your Sennheiser headphones. A proper seal around your ears boosts bass response and clarity. If your music sounds thin or weak new pads might be the solution.
Signs Your Sennheiser Ear Pads Need Replacing
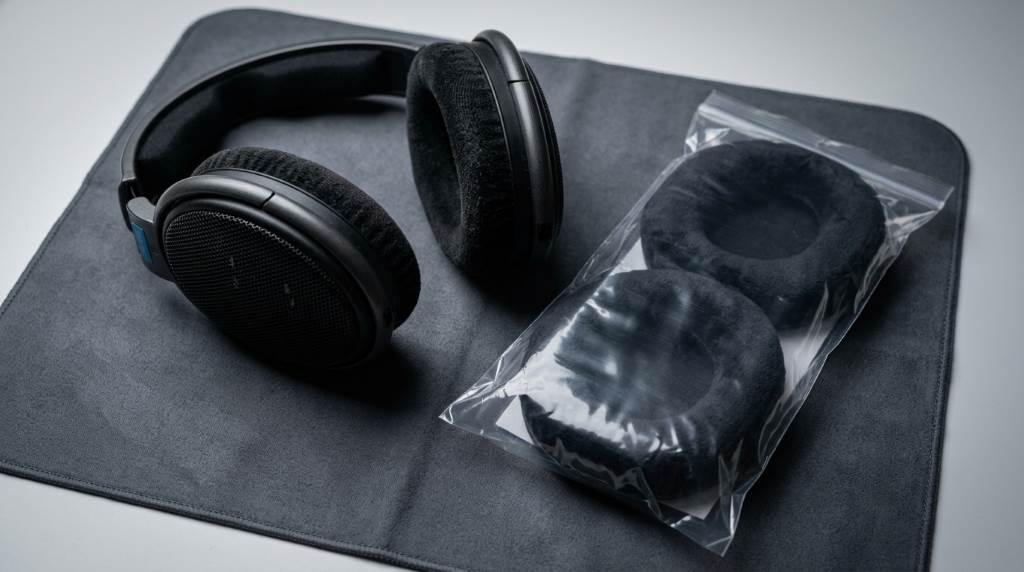
The first sign is a drop in comfort during use. If your ears feel sore after short sessions the pads are likely worn. You may also notice the foam feels hard or brittle.
Visible cracks or peeling fabric are clear warning signs. These issues only get worse with time. If the pads are coming loose from the headphone frame it is time for a change.
Sound quality can also suffer with old ear pads. You might hear less bass or notice sound leaking out. Others around you may complain they can hear your music too.
How to Choose the Right Replacement Ear Pads
Check Your Sennheiser Model
Sennheiser makes many headphone models and each uses different ear pad sizes. The HD 559 HD 599 and HD 569 all use the same pad size. The Momentum series uses a different shape and attachment method.
Look up your exact model number before ordering replacements. You can find this on the inside of the headband or on the original box. Some third party sellers list compatible models in their product descriptions.
Pick the Right Material
Velour pads are soft and breathable which makes them great for long sessions. They are also easier to clean than other materials. However they may not block outside noise as well as leatherette.
Leatherette pads offer better noise isolation and a more premium feel. They are also more durable and resistant to wear. The downside is they can get hot and sweaty during extended use.
Memory foam pads mold to your ears for a custom fit. These are the most comfortable for many users. They also provide excellent noise isolation and sound quality.
Consider the Attachment Method
Most Sennheiser ear pads use a bayonet style attachment. This means they twist on and off the speaker housing. Some newer models use adhesive or snap on designs.
Check how your current pads attach before buying replacements. If you are unsure look for videos or guides for your specific model. Many sellers also specify the attachment type in their listings.
Step by Step Guide to Replacing Sennheiser Ear Pads
Tools You Will Need
A flat head screwdriver can help pry off old pads if they are stuck. A soft cloth protects the headphone surface from scratches. You may also want a small flashlight to see inside the ear cup.
Have your replacement pads ready before you start. Make sure they match your model and attachment type. Work on a clean flat surface with good lighting.
Removing the Old Ear Pads
Start by gently pulling the old pad away from the ear cup. For bayonet style pads twist them counterclockwise while pulling. They should come off with moderate pressure.
If the pads are stuck use the flat head screwdriver to carefully pry them loose. Be gentle to avoid damaging the plastic housing. Work your way around the edge until the pad comes free.
Some pads are glued on and may require more force to remove. In this case heat the area with a hairdryer for a few seconds. This softens the adhesive and makes removal easier.
Cleaning the Ear Cup
With the old pad off you will likely see dust and debris inside. Use a soft brush or cloth to clean the surface. Avoid using water or cleaning solutions as they can damage the drivers.
Check the ear cup for any remaining adhesive or foam residue. Remove this carefully with your fingernail or a plastic tool. A clean surface ensures the new pad will fit properly.
Attaching the New Ear Pads
Align the new pad with the ear cup and press it into place. For bayonet style pads twist clockwise until they lock. You should feel a click when they are fully seated.
Make sure the pad is evenly aligned all the way around. Press firmly but do not force it if it does not fit. Double check that the attachment is secure before moving to the other side.
Repeat the process for the second ear cup. Take your time to ensure both pads are attached correctly. Uneven pads can affect comfort and sound quality.
Tips for a Perfect Fit
If the new pads feel too tight they may need a few days to break in. The foam will soften with use and mold to your ears. Avoid forcing them into place as this can cause damage.
Check the fit by wearing your headphones for a few minutes. The pads should sit comfortably around your ears without pressing too hard. If they feel loose they may not be the right size.
For adhesive pads press them firmly against the ear cup for 30 seconds. This helps the glue bond properly. Avoid using the headphones for at least an hour to let the adhesive set.
Maintaining Your New Ear Pads
Clean your ear pads regularly to extend their life. Use a damp cloth with mild soap for velour or leatherette. Avoid soaking the pads or using harsh chemicals.
Let the pads dry completely before using the headphones again. Store your headphones in a cool dry place when not in use. This prevents moisture buildup and mold growth.
Rotate between two sets of ear pads if you use your headphones daily. This gives each set time to air out and recover its shape. It also doubles the lifespan of your pads.
Common Mistakes to Avoid
Do not use excessive force when removing or attaching ear pads. This can crack the plastic housing or damage the attachment mechanism. If a pad is stuck take your time and use the right tools.
Avoid mixing up the left and right ear pads. Some models have asymmetrical designs that only fit one way. Double check the orientation before pressing them into place.
Do not ignore signs of wear on the ear cup itself. If the plastic is cracked or the attachment points are damaged you may need professional repairs. Continuing to use damaged headphones can lead to further issues.
Unique Discussion: Climate Considerations for Ear Pad Materials
The climate in Tennessee can affect your choice of ear pad materials. Humid summers can make leatherette pads uncomfortable and sweaty. Velour pads are more breathable and better suited for hot weather.
In colder months leatherette pads provide better insulation and noise isolation. They also resist moisture from rain or snow better than velour. Consider swapping your pads seasonally for the best experience.
If you travel frequently between different climates memory foam pads are a versatile choice. They adapt to temperature changes and maintain comfort in various conditions. They also provide consistent noise isolation year round.
For outdoor use in Tennessee consider water resistant materials. Some third party pads offer weatherproofing for active lifestyles. These can handle light rain and sweat without deteriorating quickly.
Final Thoughts
Replacing the ear pads on your Sennheiser headphones is a simple process. It can greatly improve comfort sound quality and hygiene. With the right tools and a little patience anyone can do it at home.
Remember to pick the right materials for your climate and usage habits. Regular maintenance will keep your new pads looking and feeling great. Enjoy your refreshed headphones and the enhanced listening experience they provide.
Frequently Asked Questions
How often should I replace my Sennheiser ear pads?
Replace them every 1 to 2 years or when they show signs of wear.
Can I use third party ear pads on my Sennheiser headphones?
Yes as long as they are designed for your specific model and attachment type.
Do I need any special tools to replace ear pads?
A flat head screwdriver and soft cloth are helpful but not always required.
Will new ear pads improve the sound of my headphones?
Yes if the old pads were worn out and not sealing properly around your ears.
How do I clean my Sennheiser ear pads?
Use a damp cloth with mild soap and let them dry completely before use.