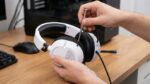


Picture this. You grab your trusted headphones for a quick run, but the earcup dangles loosely. That snap signals a broken yoke. Suddenly, music sessions turn frustrating. Headphone yokes connect earcups to the headband. They provide stability and comfort during use. Many people face this issue often. A Consumer Reports survey shows that 70% of consumers prefer repairing audio gear over replacing it entirely. Additionally, repair experts note that physical damage leads to 30% of all headphone failures. This guide walks you through fixing yokes at home. You gain skills, save time, and keep enjoying clear sound. Let’s dive into the process step by step.
Understanding Headphone Yokes
Headphone yokes play a key role in design. They hold everything together. Without them, earcups flop around. Users notice problems quickly. However, knowing the basics helps with repairs. First, recognize their function. Yokes allow adjustments for fit. They swivel and pivot smoothly. Over time, wear affects performance. Next, consider materials. Plastic yokes offer lightness but crack easily. Metal ones provide durability yet bend under force. Brands vary in construction. For instance, some use magnesium for strength. Others rely on aluminum. This knowledge guides your fix. Always check your model’s specifics. Research online forums for tips. Communities share experiences freely. In turn, you avoid common mistakes.
What Is a Headphone Yoke?
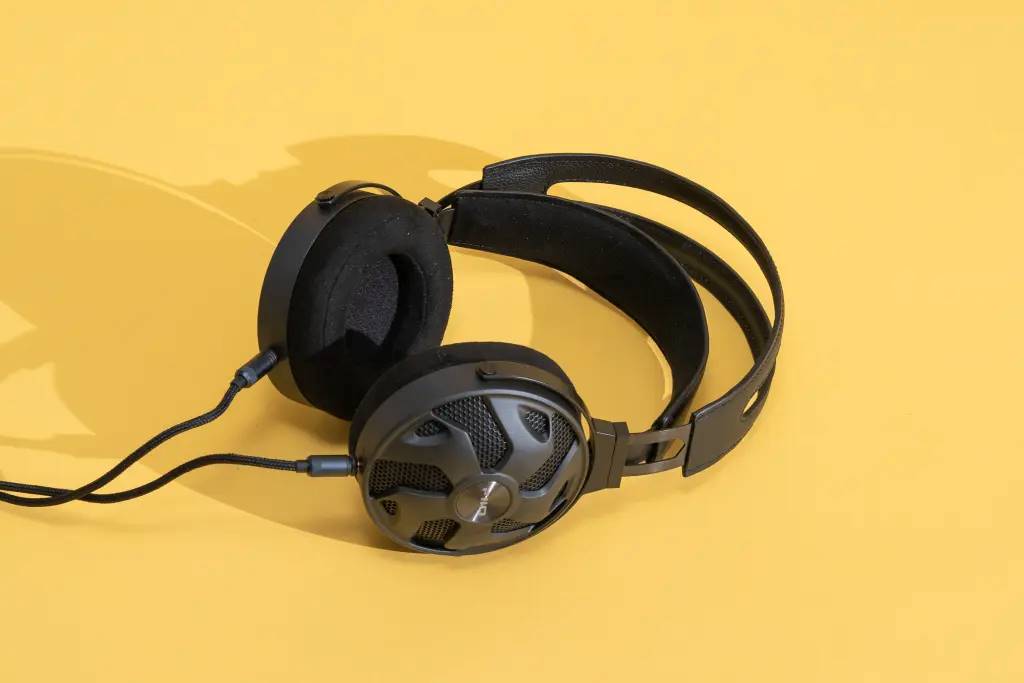
A headphone yoke resembles a fork. It attaches the earcup to the headband rod. This part ensures balanced weight distribution. Listeners adjust it for personal comfort. Engineers design yokes for flexibility. Yet, daily use tests their limits. Cracks appear from stress. Loose connections develop too. Identify yours by examining the joint. Look for hinges or pivots. Some models feature replaceable yokes. Others integrate them deeply. Understanding this setup simplifies replacement. Gather photos of your headphones. Compare with online diagrams. Consequently, you proceed confidently.
Common Types of Yokes
Various yoke types exist across brands. Plastic yokes dominate budget models. They flex but shatter under impact. Metal yokes appear in premium sets. Aluminum offers rust resistance. Magnesium adds lightweight strength. Some headphones use hybrid designs. These combine materials for better performance. Folding yokes allow compact storage. However, folds create weak points. Swivel yokes enable rotation. They enhance fit on different heads. Aviation headsets feature sturdy yokes. Pilots need reliability in flight. Gaming headphones prioritize comfort. Long sessions demand durable parts. Explore your type before starting. This preparation boosts success rates.

Signs Your Headphone Yoke Is Broken
Spotting a broken yoke early prevents further damage. Earcups wobble unnaturally. Sound shifts with movement. Discomfort arises during wear. Visually inspect for cracks. Small fissures grow over time. Listen for creaking noises. They indicate loose parts. Touch the joint area. Feel for instability. Uneven positioning signals issues. Wires may expose if yokes split. Audio cuts out intermittently. Users report these symptoms commonly. Act quickly to fix them. Delays worsen the problem. Regular checks help maintain gear.
- Wobbling earcups during use.
- Visible cracks or splits in the yoke material.
- Creaking sounds when adjusting the headband.
- Uneven fit on your head.
- Exposed internal wires near the joint.
Address these signs promptly. Simple observations save effort later.
Causes of Broken Headphone Yokes
Several factors lead to yoke breakage. Rough handling tops the list. Dropping headphones stresses joints. Improper storage contributes too. Twisting them into bags causes strain. Material fatigue occurs naturally. Repeated adjustments weaken parts. Environmental elements play a role. Heat softens plastic. Cold makes it brittle. Sweat corrodes metal over time. Manufacturing defects appear rarely. Yet, they affect some units. Heavy use accelerates wear. Gamers and travelers face this often. Understanding causes aids prevention. Adjust habits accordingly. As a result, headphones last longer.
Everyday Wear and Tear
Daily routines challenge yokes. Constant folding for portability fatigues hinges. Adjusting size multiple times strains connections. Carrying in pockets adds pressure. Vibrations from movement loosen screws. Over months, small issues build up. Users overlook gradual changes. Suddenly, a snap happens. Track usage patterns. Gentle handling extends life. Rotate between pairs if possible. This spreads the load evenly.
Accidental Damage
Accidents happen unexpectedly. Stepping on headphones crushes yokes. Pulling cords yanks joints. Pets chew exposed parts. Travel mishaps bend frames. Impacts from falls crack materials. Quick movements during sports contribute. Kids playing with gear increases risks. Protect against these events. Use cases for storage. Secure them during activities. Awareness reduces incidents significantly.
Material Quality Issues
Not all yokes match in quality. Cheaper plastics degrade faster. Thin metals bend easily. Design flaws emerge in some models. Heat exposure warps shapes. Moisture rusts components. Choose reputable brands initially. Research reviews before buying. Upgrades improve durability. Reinforce weak spots proactively.
Tools and Materials Needed
Gather essentials before starting. Basic tools make the job easier. Screwdrivers fit various sizes. Pliers grip small parts. Super glue bonds cracks temporarily. Replacement yokes match your model. Find them online easily. 3D printing offers custom options. Baking soda strengthens glue mixes. Wire cutters trim extras. Sandpaper smooths edges. Heat shrink tubing protects wires. Safety glasses shield eyes. Work on a clean surface. Organize items neatly. This setup streamlines the process.
- Phillips and flathead screwdrivers for disassembly.
- Needle-nose pliers to handle tiny components.
- Super glue and baking soda for quick fixes.
- Replacement yoke parts specific to your headphones.
- Sandpaper to refine repaired areas.
- Electrical tape for wire insulation.
Prepare these in advance. Test tools on scrap first.
Step-by-Step Guide to Replacing the Yoke
Follow these steps carefully. Safety comes first. Work in a well-lit area. Unplug headphones if wired. Begin with assessment. Then, disassemble slowly. Replace the part next. Reassemble and test finally. Patience ensures success. Mistakes happen, but corrections fix them. Document each step with photos. Refer back if needed. Now, let’s start the repair.
- Assess the Damage: Examine the yoke closely. Note cracks or bends. Determine if replacement is necessary. Check both sides for symmetry. Decide on full or partial fix. This step guides your approach.
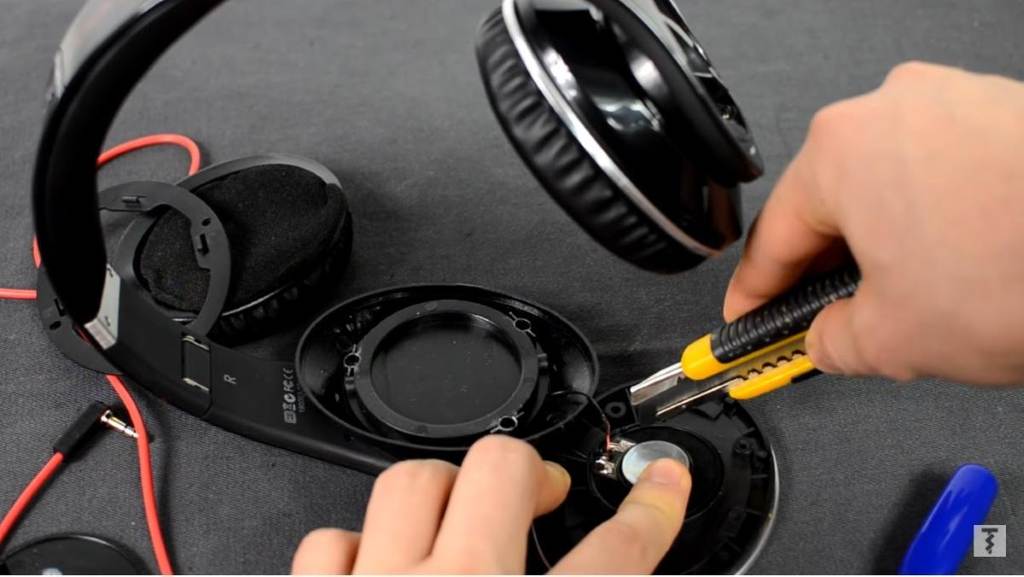
- Disassemble the Headphones: Remove earcups gently. Unscrew yoke attachments. Pull apart headband connections. Handle wires cautiously. Avoid pulling them loose. Label parts for reassembly. Organization prevents confusion later.
- Remove the Broken Yoke: Pry off the damaged piece. Use pliers for grip. Cut any stuck wires if needed. Clean the area thoroughly. Remove debris or old glue. Smooth surfaces with sandpaper. Preparation improves new fit.
- Prepare the Replacement Yoke: Match the new part exactly. Trim if required. Apply glue to joints. Align holes precisely. Secure with screws temporarily. Test movement before finalizing. Adjustments ensure proper function.
- Install the New Yoke: Attach to headband first. Connect earcup next. Tighten screws evenly. Reconnect wires securely. Use tubing for protection. Double-check alignments. Smooth operation confirms success.
- Reassemble and Test: Put earcups back on. Adjust headband size. Wear headphones comfortably. Play audio tracks. Listen for clarity. Move around to check stability. Fine-tune as necessary.
Celebrate your fixed gear. Enjoy the results immediately.
Variations for Different Headphone Models
Models differ in design. Over-ear types need more disassembly. On-ear versions simplify access. Wireless headphones involve batteries. Gaming sets feature lights. Aviation models demand precision. Research specific guides online. Adapt steps accordingly. For example, Sony models use swivel hinges. Bose requires yoke kits. Audeze demands driver care. Customize your method. Success follows adaptation.
Safety Precautions During Repair
Protect yourself always. Wear gloves for grip. Avoid sharp edges. Use tools properly. Keep children away. Work away from water. Handle glue fumes outdoors. Test electronics safely. Ground yourself against static. Follow these rules. Injuries decrease dramatically.
Troubleshooting Common Issues During Replacement
Problems arise sometimes. Loose screws cause wobbles. Tighten them gradually. Misaligned yokes affect fit. Realign carefully. Broken wires interrupt sound. Solder connections firmly. Glue fails to hold. Mix with baking soda. Parts don’t match. Order correct ones. Audio distortions occur. Check driver placement. Address issues step by step. Persistence solves most challenges. Seek forums for advice. Communities offer solutions quickly.
- If yokes won’t align, loosen adjacent parts first.
- When wires break, strip ends before reconnecting.
- For weak glue, apply multiple layers patiently.
- If sound cuts out, inspect all connections again.
Troubleshoot methodically. Fixes become straightforward.
Preventing Future Yoke Breakage
Prevention beats repair. Store headphones properly. Use protective cases. Avoid extreme temperatures. Handle with care daily. Clean regularly. Dust weakens materials. Rotate usage among pairs. Reinforce weak spots early. Add padding to joints. Follow manufacturer tips. Longevity increases noticeably. Habits form over time. Consistency pays off.
Proper Storage Techniques
Hang headphones on hooks. Coil cords loosely. Place in dedicated drawers. Travel with padded bags. Avoid stacking heavy items. These methods reduce stress. Yokes stay intact longer.
Handling and Usage Tips
Grip by headband always. Adjust gently. Remove before sleeping. Limit exposure to moisture. Use during calm activities. Small changes preserve structure.
Regular Maintenance Practices
Inspect monthly. Tighten loose screws. Wipe down surfaces. Lubricate hinges sparingly. Replace pads as needed. Maintenance extends usability.
When to Seek Professional Help
Some fixes exceed home skills. Complex models require experts. Driver damage complicates things. Rare parts need sourcing. Time constraints limit efforts. Professionals offer quick solutions. Shops specialize in audio repairs. Online services ship fixes. Weigh options carefully. DIY saves resources often. Yet, pros ensure quality.
Conclusion
Replacing broken headphone yokes at home empowers you. You learned about yokes, signs, causes, tools, and steps. Prevention tips keep issues at bay. Troubleshooting handles hiccups. Now, your audio gear works like new. Grab those tools today. Fix your headphones and blast your playlist.
FAQs
What Tools Do I Need to Replace a Headphone Yoke?
Gather screwdrivers, pliers, glue, and replacement parts. These basics cover most repairs. Add sandpaper for finishing touches.
Can I Fix a Plastic Yoke with Glue Alone?
Yes, super glue mixed with baking soda works. It creates a strong bond. However, replacement offers better longevity.
How Long Does a Yoke Replacement Take?
Expect 30 to 60 minutes. Disassembly and reassembly vary by model. Practice speeds up the process.
Are Metal Yokes Easier to Replace Than Plastic Ones?
Metal yokes bend but rarely crack. Plastic ones shatter more. Both follow similar steps, though materials differ.
What If My Headphones Are Wireless?
Handle batteries carefully. Disconnect power first. The yoke replacement process remains similar overall.
References
- https://www.consumerreports.org/headphones/headphone-repair-is-a-thing-dont-throw-out-your-favorite-pair/
- https://www.ifixit.com/Guide/How+to+Repair+a+Headphone+Jack/40579
- https://www.headphonesty.com/2021/02/what-to-do-with-broken-headphones/
- https://www.reddit.com/r/dataisbeautiful/comments/ymn7rs/oc_how_long_headphones_last_and_where_they_fail/