

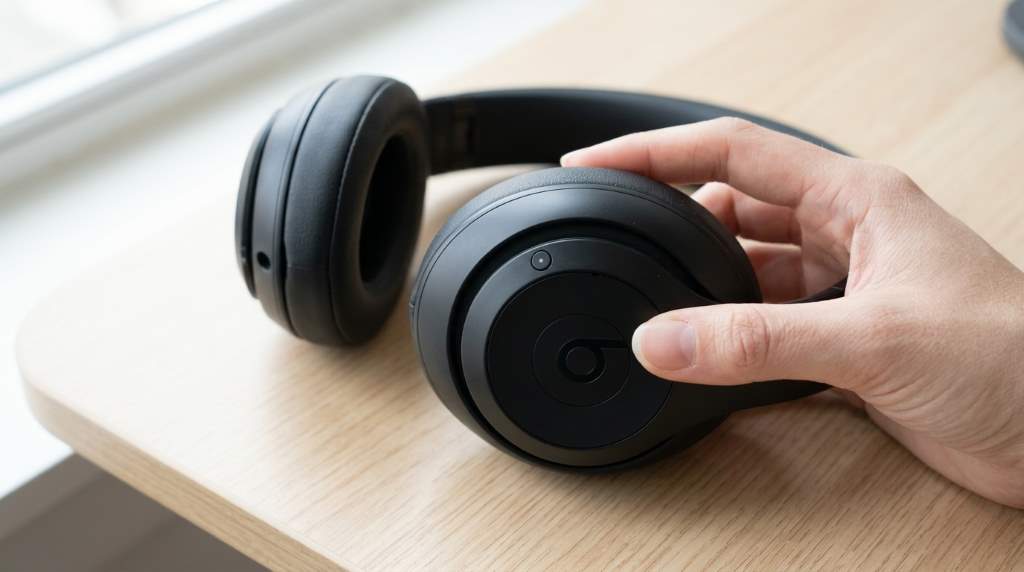
To reset Beats Studio Pro ANC headphones, press and hold the System button and the Volume Down button together for about 10 seconds. Release both buttons when the LED indicator flashes, then reconnect the headphones to your device. This process fixes many common issues, including Bluetooth pairing failures, sound glitches, and active noise cancellation problems.
Modern wireless headphones depend on stable firmware and wireless connections. Industry reports show that Bluetooth connectivity issues affect a significant percentage of wireless audio users. As a result, learning how to reset your headphones can save time and prevent unnecessary troubleshooting.
Many owners of Beats Studio Pro ANC headphones encounter occasional pairing or performance issues. Fortunately, a proper reset often restores normal operation quickly. This guide explains the exact reset process, common problems it solves, and additional troubleshooting methods that many competing articles overlook.
Why You Might Need to Reset Beats Studio Pro ANC Headphones
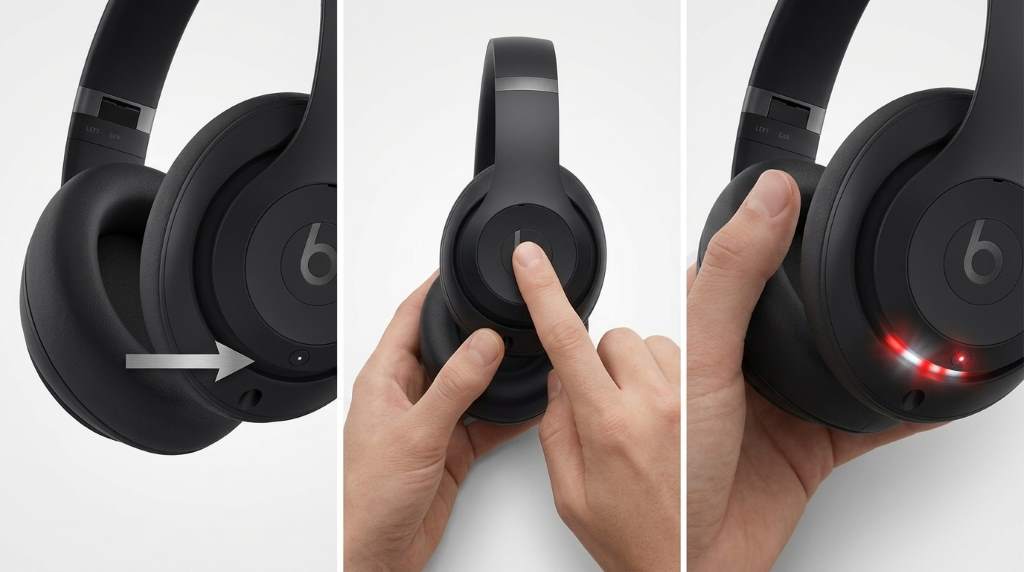
A reset clears temporary software conflicts that interfere with normal operation. Therefore, it often serves as the fastest solution before deeper troubleshooting.
Wireless devices constantly exchange information with phones, tablets, and computers. Sometimes these connections become unstable and create unexpected behavior.
- Bluetooth pairing failures
- Audio dropouts
- ANC not working correctly
- Transparency mode issues
- Battery reporting errors
- Unresponsive controls
- Firmware communication glitches
Understanding the Difference Between Restarting and Resetting
Many users confuse a restart with a reset. However, these actions perform different functions.
A restart simply powers the headphones off and back on. In contrast, a reset clears stored system settings and refreshes internal software processes.
| Action | Purpose | Data Impact |
|---|---|---|
| Restart | Refresh power cycle | No settings removed |
| Reset | Clear system conflicts | Pairing information removed |
How to Reset Beats Studio Pro ANC Headphones
Step 1: Power On the Headphones
Make sure the headphones have sufficient battery charge. Next, turn them on before starting the reset procedure.
A low battery can interrupt the reset process. Therefore, charge the device if battery levels seem unusually low.
Step 2: Locate the Required Buttons
Find the System button on the headphones. Then identify the Volume Down button.
These two controls work together during the reset sequence. Accurate timing helps ensure success.
Step 3: Hold Both Buttons
Press and hold the System button and Volume Down button simultaneously. Continue holding both buttons for approximately 10 seconds.
Do not release either button too early. Otherwise, the reset command may not complete properly.
Step 4: Watch the LED Indicator
Observe the status light while holding the buttons. The LED should begin flashing after the required hold period.
The flashing light confirms that the reset process has started. At that point, release both buttons.
Step 5: Pair the Headphones Again
After resetting, the headphones remove previous Bluetooth pairing records. Therefore, reconnect them to your devices.
Open Bluetooth settings on your phone, tablet, or computer. Then select Beats Studio Pro from the available devices list.
What Happens After the Reset?
The headphones return key wireless settings to their default state. Consequently, previous device connections disappear.
Audio quality settings remain controlled by your connected device. However, Bluetooth pairing information must be created again.
- Bluetooth connections are cleared
- System glitches are removed
- Connection stability often improves
- ANC performance may normalize
- Device discovery issues may disappear
Common Problems a Reset Can Fix
Headphones Will Not Pair
Pairing failures often result from corrupted Bluetooth records. Therefore, resetting removes those problematic connection entries.
Once completed, the headphones appear as a fresh device. This process frequently restores successful pairing.
Active Noise Cancellation Not Working
ANC relies on microphones, processing hardware, and software coordination. Sometimes a temporary software conflict affects performance.
A reset can restore proper communication between these components. Consequently, noise cancellation may function normally again.
Sound Cuts In and Out
Intermittent audio usually points to connection instability. However, temporary system errors can also contribute.
After resetting, many users notice more consistent wireless performance. This improvement often appears immediately.
Controls Stop Responding
Button commands occasionally become unresponsive because of software conflicts. Therefore, resetting refreshes the internal control system.
Once the process finishes, button functionality often returns to normal operation.
Additional Troubleshooting If Reset Does Not Work
A reset solves many issues, but not every problem. Therefore, consider several additional checks.
Update Device Software
Outdated operating systems sometimes create compatibility problems. Consequently, install the latest updates on connected devices.
Current software versions often improve Bluetooth reliability. They may also enhance audio performance.
Check for Firmware Updates
Firmware updates can correct known bugs and performance issues. Therefore, keeping firmware current remains important.
Manufacturers regularly release improvements for connectivity and stability. Updated firmware often resolves persistent issues.
Remove Nearby Wireless Interference
Wireless signals compete for available frequencies. Therefore, crowded environments can affect headphone performance.
Move away from routers, smart devices, or dense wireless equipment. This adjustment may improve stability significantly.
Test With Another Device
Sometimes the problem originates from the phone or computer. Therefore, pair the headphones with another device.
If performance improves, the original device likely requires additional troubleshooting.
Best Practices After Resetting
Good maintenance habits help prevent future connection problems. As a result, your headphones remain more reliable.
- Keep firmware updated
- Maintain adequate battery levels
- Remove unused Bluetooth pairings
- Store headphones safely
- Reconnect devices carefully
Regular maintenance reduces software conflicts. Consequently, you may need fewer resets over time.
Signs You May Need Professional Support
Some problems indicate potential hardware issues rather than software conflicts. Therefore, a reset alone may not help.
Persistent charging failures, damaged buttons, or microphone malfunctions often require technical service. In these situations, professional evaluation becomes the best option.
- Physical damage
- Charging system failures
- Repeated power loss
- Microphone malfunction
- No LED activity
Conclusion
Resetting Beats Studio Pro ANC headphones is a simple process that often resolves pairing, audio, and ANC issues. By holding the System button and Volume Down button for about 10 seconds, you can refresh the headphones and restore normal operation.
If problems continue after a reset, investigate firmware updates, software compatibility, and wireless interference. Try the reset procedure today to restore reliable performance and get the most from your headphones.
FAQs
How long should I hold the buttons during a reset?
Hold the System button and Volume Down button together for approximately 10 seconds.
Will resetting remove Bluetooth pairings?
Yes, a reset removes stored Bluetooth connections and requires re pairing.
Can a reset fix ANC problems?
Yes, a reset often resolves temporary ANC software issues.
Does resetting affect sound quality settings?
No, audio settings primarily remain controlled by the connected device.
What should I do if the reset fails?
Charge the headphones, repeat the procedure, and check for software updates.