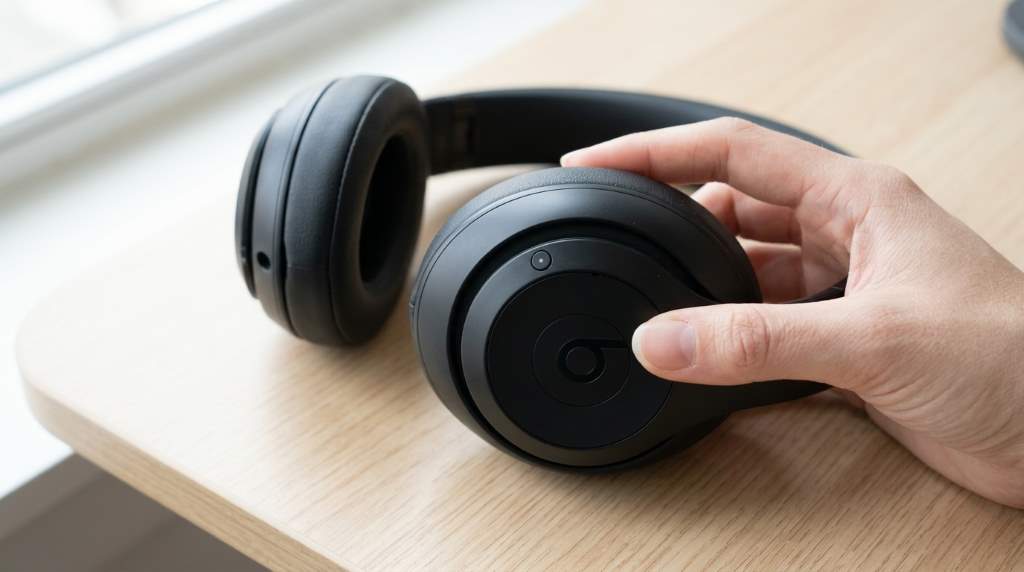

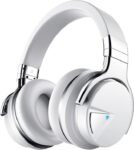
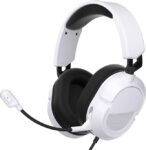
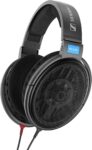
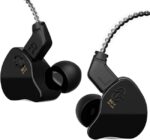

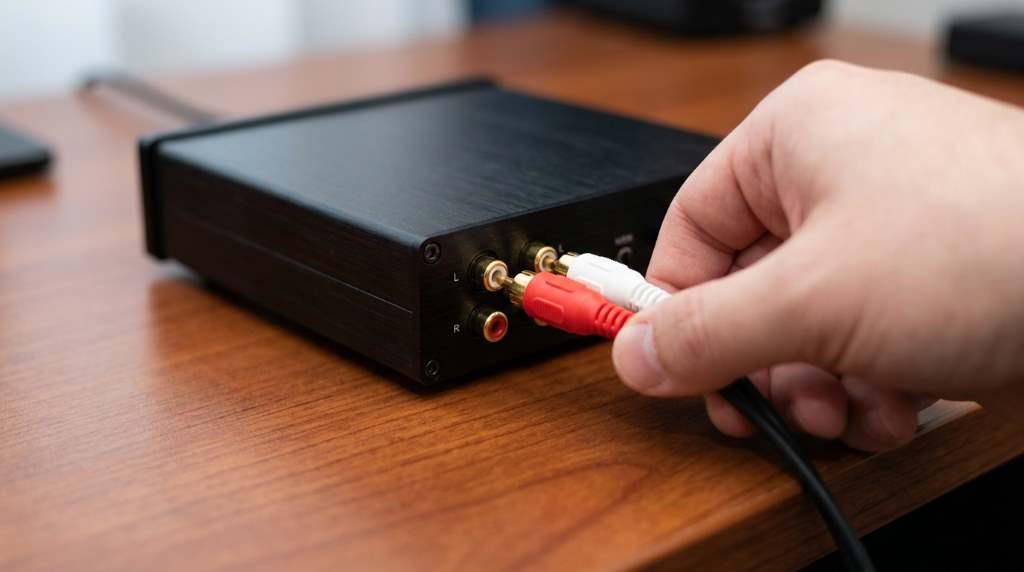
To set up a headphone amplifier, connect your audio source to the amplifier, plug your headphones into the output, then adjust the gain and volume carefully. A correct setup improves sound quality, delivers cleaner power, and helps your headphones perform at their full potential.
Many listeners never hear their headphones at peak performance because they skip proper amplification. According to industry research, the global headphone market continues growing as demand for premium audio equipment increases. Likewise, high impedance headphones often require additional power for the best results. If you plan to upgrade your listening experience, the best headphone amplifier can make a noticeable difference when paired correctly. This guide explains every setup step using simple instructions that anyone can follow.
What Is a Headphone Amplifier?
A headphone amplifier increases the electrical signal before it reaches your headphones. As a result, your headphones receive enough power to reproduce detailed and accurate sound.
Unlike standard phone or laptop outputs, dedicated amplifiers provide cleaner amplification with lower distortion. Therefore, music sounds more dynamic and controlled across different listening levels.
Why Proper Setup Matters
A correct installation protects your headphones while improving audio performance. Furthermore, proper connections reduce unwanted noise and interference during playback.
Incorrect settings can introduce distortion or excessive volume. Consequently, careful adjustments help preserve both your hearing and your equipment.
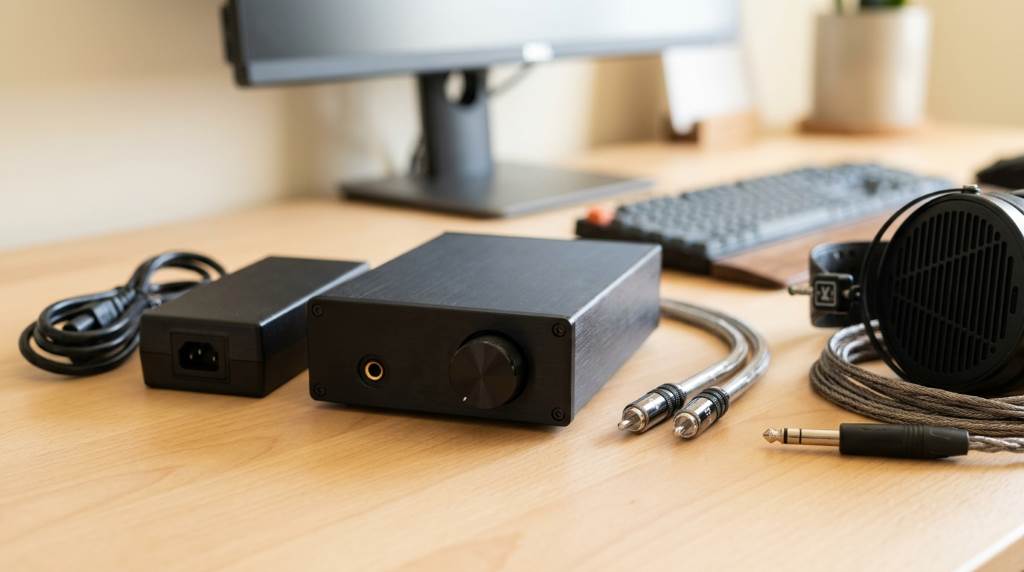
Items You Need Before Starting
Gather every component before connecting your system. This approach prevents unnecessary interruptions during installation.
- Headphone amplifier
- Audio source such as a computer, phone, DAC, or music player
- Compatible audio cables
- Power adapter if required
- Your headphones
Understand Your Amplifier Connections
Different amplifiers include various input and output options. Therefore, identifying each port before connecting cables saves time and prevents mistakes.
Input Connections
- USB
- RCA
- 3.5 mm auxiliary
- Optical
- Balanced XLR
Output Connections
- 3.5 mm headphone jack
- 6.35 mm headphone jack
- Balanced headphone output
How to Set Up a Headphone Amplifier Step by Step
Step 1: Turn Everything Off
Power off every connected device before making any connections. This habit protects sensitive electronics from unexpected electrical issues.
Step 2: Connect the Audio Source
Attach the correct cable between your source device and amplifier input. Afterward, confirm every connector fits securely without excessive force.
Step 3: Connect the Headphones
Insert the headphone plug into the amplifier output. Next, verify the connection feels firm and remains fully inserted.
Step 4: Connect Power
Plug the amplifier into its recommended power source if necessary. Then, switch the amplifier on after confirming every cable remains connected.
Step 5: Set the Gain
Select the lowest gain setting before playing any audio. Later, increase gain only if your headphones require additional power.
Step 6: Start With Low Volume
Turn the volume knob completely down before playback begins. Afterwards, increase the level slowly until reaching a comfortable listening volume.
Step 7: Test Audio Playback
Play a familiar recording with wide dynamic range. Consequently, you can identify connection issues or unusual distortion immediately.
Matching the Amplifier With Your Headphones
Different headphones need different power levels for optimal performance. Therefore, impedance and sensitivity deserve attention before purchasing an amplifier.
| Headphone Type | Typical Need |
|---|---|
| Low impedance | Usually works with low gain |
| Medium impedance | Benefits from dedicated amplification |
| High impedance | Often requires higher amplifier output |
| Planar magnetic | Frequently needs stronger current delivery |
Should You Use a DAC With a Headphone Amplifier?
A digital to analog converter changes digital files into analog audio signals. Meanwhile, the amplifier increases signal strength for headphone playback.
Many modern units combine both functions inside one device. Otherwise, separate components also deliver excellent results when connected correctly.
Gain Settings Explained
Gain controls signal amplification instead of maximum listening volume. Therefore, choosing the correct setting improves audio quality significantly.
- Use low gain for efficient headphones.
- Choose medium gain for moderate impedance models.
- Select high gain only for demanding headphones.
Common Setup Mistakes to Avoid
Several small mistakes reduce sound quality despite using premium equipment. Fortunately, avoiding these issues requires only a few simple habits.
- Starting with maximum volume
- Using the wrong output connection
- Selecting unnecessary high gain
- Ignoring cable quality
- Skipping firmware updates when available
- Connecting loose audio cables
Tips for Better Sound Quality
Small improvements often produce noticeable listening benefits over time. Consequently, regular maintenance helps maintain consistent performance.
- Keep connectors clean.
- Use quality audio files.
- Avoid excessive volume.
- Store cables carefully.
- Match amplifier power with headphone requirements.
- Reduce nearby electrical interference.
Troubleshooting Common Problems
No Sound
Check every cable connection before changing other settings. Also, verify the correct input source remains selected.
Distorted Audio
Reduce gain or lower playback volume immediately. Additionally, inspect cables for damage or poor connections.
Background Noise
Move cables away from power adapters whenever possible. Likewise, test another source device to isolate the problem.
One Side Is Silent
Reconnect the headphone plug completely into the output jack. Otherwise, test another headphone pair to identify the faulty component.
Maintenance Tips
Regular cleaning keeps connections reliable throughout years of daily use. Therefore, remove dust carefully using a soft dry cloth.
Avoid exposing electronic equipment to excessive moisture or heat. Likewise, disconnect power before performing any maintenance work.
Conclusion
Learning how to set up a headphone amplifier requires only a few careful steps and basic equipment. Once everything connects correctly, your headphones deliver cleaner detail, stronger dynamics, and improved listening comfort. Follow these recommendations every time you install new audio equipment, and enjoy consistently better sound from your favorite music, movies, and games.
Take a few minutes to review your current setup today, make any necessary adjustments, and experience the full capability of your headphones.
Frequently Asked Questions
Do all headphones need a headphone amplifier?
No, efficient headphones often work well without a dedicated amplifier.
Can I connect a headphone amplifier to my phone?
Yes, you can connect compatible amplifiers using the appropriate adapter or digital connection.
What gain setting should I use first?
Always begin with the lowest gain setting available.
Can a headphone amplifier improve sound quality?
Yes, a properly matched amplifier can provide cleaner, more detailed audio.
Should I leave my headphone amplifier on all the time?
No, turning it off when unused helps extend its operating life.